Welcome back to my Studio and to my NEW Blog home!
I'm still updating pics so please be patient. Moving a blog is a lot more work than I thought, but it's worth it!
Get Well My Friend....
Today, I'm sharing a Get Well card I created for a sweet friend.
I usually share my "cute and whimsical" projects from my illustrations but, I am also huge lover of flowers and Altenew definitely is my go to for Florals.
So today's project had to be different.
It's one of those situations when you feel helpless because you can't help someone you care about, but you wan to do something for them.
A handmade card almost always brings a smile to someone's face and my friends are definitely in need of some heartfelt smiles!
Rest, Relax, Recover...
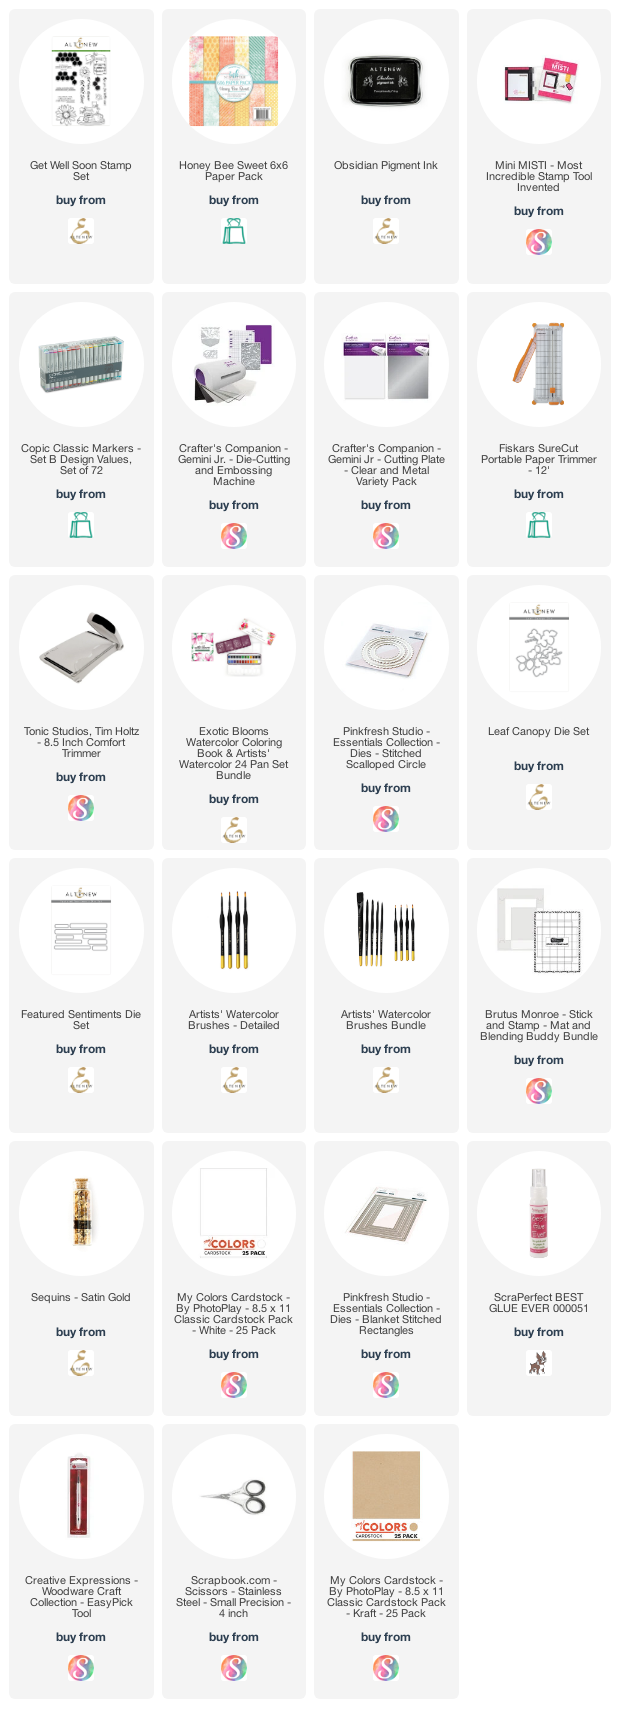
So for this card, I decided to use Altenew's Get Well stamp set. I love the daisies and the tea and honey tray in this set. It was perfect.
I stamped the image with black ink and colored them with Copic Markers.
I hope I have inspired you to simply create something Fabulously Fun & Heart-Warming to bring you, or someone else, a little bit of joy for the moment.
Be sure to leave a comment, if you have enjoyed this project.
Follow me here at my new blog home and on Bloglovin' and Instagram
I just had to add that cute little kitty in a mug just for my son! He is a coffee lover and has the most fabulous kitty…she has our hearts!
I hope I have inspired you to simply create something Fabulously Fun & Heart-Warming to bring you, or someone else, a little bit of joy for the moment.
I wanted to keep my background fairly simple as not to take away from the main character images, so I used a piece of dark blue cardstock for my panel and splattered white ink across the upper portion for a starry sky effect.
Heat Embossed…
I stamped my sentiment from the same set with embossing ink and heat embossed it with white embossing powder to standout against the dark blue background.
For my card base, I folded a piece of Kraft Cardstock to create a 5″x7″ card. I then added a smaller piece of White Cardstock leaving a slight frame visible.
Putting It All Together…
I attached my card panel to my card base with double-sided adhesive and then I arranged the 3 Wise Men and the Camel using adhesive foam to give my card a 3D look.
Finishing Touches…
I stamped, die cut and colored one of the stars from the stamp set and placed it in the upper right corner of my card. I gave my Wise Men and Camel a slight shadow using Copic Markers.
It’s a little hard to see in the picture, but I also added several tiny iridescent stars to the night sky to give a little twinkle to my card.
And with that, my Joyful Holiday card was finished.
I hope I have inspired you to try something new, or simply create something Fabulously Heart-Warming to bring you, or someone else, a little bit of joy for the moment.
We would love for you to join us in sharing your DDS and INS inspiration projects, on all your social media platforms, using Ink n’ Splatter products.
Don’t forget to hashtag so we can see your amazing designs:
#inknsplatter
#digidoodlestudios
Shop Ink n’ Splatter today for cute and whimsical clear stamps, dies, and more!
Today I am happy to share a couple of cards I created using Digi Doodle Studios new little Leprechauns, “Patty” & “Lewy”. They are our St. Patrick’s Day Cuties!
Patty leprechaun…
I tried to keep these cards fairly simple by focusing one design elements rather than all the added extras I love to splash on my handmade cards.
Coloring Patty…
I printed and cut Patty from white cardstock using my die cutting machine.
And colored both of my images with Copic markers…supply list below.
Color Coordinating…
Because I was releasing these two leprechauns on the same day and made samples for them …I wanted to keep their colors similar but the design slightly different.
As you can see, I kept much of my cards in white with pattern paper….
…
and die cut and embossed backgrounds.
I splashed some green wherever I could using a couple of different St. Patrick’s Day inspired paper packs, and added beautiful gold accents to both cards.
So there they are…my St. Patrick’s Day Cuties!
I hope I have inspired you today to try something new, or simply create something Fabulously Heart-Warming to bring you, or someone else, a little bit of joy for the moment.
Can you smell it? The uniquely comforting scent of fresh brewed coffee!
I love the smell, the taste, and even the color of coffee! It’s always time for coffee, as far as I’m concerned! That’s a photo of my coffee, up there, from one of our local Coffee Houses. My coffee was fabulous, just in case you were wondering.
Or maybe you really don’t like coffee, but prefer Hot Cocoa, Tea, or even Hot Apple Cider instead. They’re all fabulous too!
Whatever your guilty pleasure is, as a Super Sponsor of this week’s seasonal event, I invite you to grab your favorite mug of deliciousness, and hop along with us as we celebrate the Fall/Winter Coffee Lovers Blog Hop! There will be lots of prizes, and oodles of inspiration too!
Any day I can feed my paper crafting/card making, and coffee loving addiction, is a great day for me! So I am excited to share my contribution to this super fun seasonal blog hop today, and as a Sponsor of this event, I have donated one of the many prizes that will be given to the lucky winners!
Want to See How I Created this Card?
Antoni Coffee Gnomie…
Gnomes have been all the rage for a few years, right?! They can be kind of adorable, especially in the paper crafting world.
The first thing I always try to do is have some sort of project plan in my head. I don’t always, but for this card design, I knew early on I wanted to create a shaker card, so I sized Antoni accordingly. Once I was happy with it, I printed and cut my image using my die cutting machine.
Once all the tedious, and mathematical, preparations were done, I cut the base out of white cardstock. I also cut several coffee cup outlines and glued them together to create the well that would hold my shaker bits.
Now, I was ready to color, which btw, is one of my favorite steps of the process. I will tell you my other favorite step in a moment.
PleaseNote: there are no hard and fast rules to the order of these steps, I just prefer to print and cut before I color, because it is not unlike me to change my plan, or worse, mess up!
I colored Antoniwith Copic Sketch Markers (full supply list below) because I love the paint brush-like tip, the blend-ability, and enormous color choices, of these fabulous alcohol markers. Not to mention they are refillable which in itself makes them an great investment.
Tip: If you plan on coloring with markers, you may want to use paper designed for that medium. It really does make a difference when it comes to blending and bleeding. For more info on paper, visit my article on Artist Paper in my Cool Crafty Tools Section
My Thought Process…
I originally thought of having Antoni and the Coffee Shaker Cup stand alone, which was really cute, but not very sturdy, even though I added extra layers.
While I was coloring Antoni, I felt like he really popped up against the b&w Buffalo Flannels, as pictured above, so I went with that instead.
Picking Up the Pieces…
After my image was colored I began to assemble my Shaker Coffee Cup. I attached the top frame layer of the coffee cup, onto a piece of clear acetate, and fussy cut the acetate around the frame to create the window of my shaker.
Using coordinating colors, I filled the shaker well with all kinds of sequins, frosty bits, and enamel dots, and sealed it up using the top window layer layer. I also cut out another cup holder using corrugated cardstock to give my shaker cup more dimension.
I also added a couple of little coffee related die cuts and a coordinating enamel dot to the sentiment just for fun.
Putting it All Together…
Putting it all together is my other favorite part of the card making process. I love to watch as it all comes together, especially when it looks like something I pictured it in my mind.
I added a little satin ribbon, a die cut flourish for the coffee steam, a few more coordinating enamel dots, and my card was finished.
Well that was fun! I’m kind of sad it’s over…
I had so much fun creating this card! Maybe it is because I am a Coffee Loving Cardmaker, or maybe it’s because I have a creative addiction.
How about you? Are you a Coffee Loving Cardmaker, a creative addict, or are you just starting out on a fabulous journey?
I hope I have inspired you today to try something new, or simply create something Fabulously Heart-Warming to bring you, or someone else, a little bit of joy for the moment.
Be sure to join Digi Doodles Facebook Community for more inspiration, challenges and a chance to win monthly FREE Digi Doodles and to share your DDS creations!
#digidoodlestudios #digidoodles
Please Subscribe to Digi Doodle Studios YouTube Channel for added inspiration
Every day is a gift…so do something today that brings you, and others, great joy!
I would like to enter this card in the following challenges:
Can you smell the beautiful season of Autumn? Have you noticed the subtle drop of leaves? Soon the colors of Fall will surround us like a warm comfy blanket on a cold day.
Pumpkin everything came out in August this year! Early, right?! NO! Let me just say, my first sip. this year, of Cold Brew with Pumpkin Cream was ridiculously AAH-MAZING!
“My favorite color is October” ~ unknown
I love this quote! It’s a fabulous observation that describes the beginning of Autumn perfectly!
I think this quote may possibly hold true for me and it was the inspiration for my card. Like many of you, Fall colors, cool breezes and the fabulous scents of pumpkins, apples, cinnamon, and wood burning fireplaces/fire pits, bring excitement and anticipation of fresh clean air and the coming Holidays.
“Booker Autumn”
I have to admit, if you are familiar with my Digi Doodles, you will notice I have many, many girly images, a few men/boy images, and lots of little cute critter images!
While I often work with my girly and critter images, today I wanted to give equal time to create an Autumn inspired card using “Booker Autumn”. This little sweetie inspires me, and reminds me of my son.
First Things First…
I sized and printed my image on to paper designed specifically for coloring with markers (full supply list below). Don’t worry, it’s ok if you don’t have marker paper, cardstock or mixed media paper will do. But, you will have much better results when blending marker colors on paper designed for that purpose.
FYI: If you are new to digi stamps, and unsure of how to size and print your images, I have an easy FREE Tutorial using Microsoft Word that you can download instantly from my Digi Doodle Studiosstore website.
So here I have my printed image ready to color.
I knew early on, that I wanted to create a single layer with a blended background. But, since my image is already printed out, I will have to mask Booker so I don’t blend over him when coloring my background.
Protecting Booker…
There are a couple of ways you can mask your digi stamp images, but whichever way you choose, you will need to use masking paper.
Masking paper has low tack, is easily repositioned, and won’t harm your image in any way.
One way, and probably the most common way, is to print your image again, (exactly as your first print) on to a piece of masking paper, fussy cut it, and place it directly over your image.
Another way, and the way I masked my image for this project, is to use a Cricut or Silhouette machine to cut your mask out. I prefer to use my die cutting machine because fussy cutting intricate cuts takes me too long…and I can be doing something else while my machine is working for me! It’s a win win!
Time to Blend…
I die cut my image with a slimline stitched rectangle to give me a sense of how I wanted my background to look.
Once, I cut my mask and applied it to my image it was time to blend.
I also masked my die cut piece with masking tape because I wanted to keep a white border around my image, and it also helped to keep my paper in place while I was blending my inks.
Using the same inks, I carried the colors to the upper corner by dabbling some leaves and fading them downward, using a small course sponge. It was not intended to be a focal point, but in my final piece, it served as a little background imagery.
Let the Ink Flow…
With all the background work done, it’s time to color my image! I chose to use Copic Markers, but of course, there are so many art mediums you could use. It’s really just a matter of preference on what you color with for any given project.
I’ve used other alcohol markers over the years, but I love the ease of Copic Markers more than many of the others out there. The paint brush-like nib on a Copic Sketch Marker allows the ink to flow freely, smoothly, and makes blending very easy.
Putting it all Together…
For my card base, I cut out a piece of Kraft Paper and die cut a stitched border.
To complete my card, I printed a birthday sentiment and attached with a piece of natural twine and a few enamel dots, and my card was finished.
I hope I have inspired you today to try something new, or simply create something Fabulously Heart-Warming to bring you, or someone else, a little bit of joy for the moment.
Be sure to join Digi Doodles Facebook Community for more inspiration, challenges and a chance to win monthly FREE Digi Doodles and to share your DDS creations!
#digidoodlestudios #digidoodles
Please Subscribe to Digi Doodle Studios YouTube Channel for added inspiration
Every day is a gift…so do something today that brings you, and others, great joy!
I have entered this card in the following challenges: