(Inspiration Motivation)I grew up fearing cats because I was told they were scary and untrustworthy. But, as an adult, I grew to LOVE them and have had few of my own over the years.
Today, I get the pleasure of being "mommy" to my son's adorable, yet feisty, gorgeous calico. She's a crazy cat and I LOVE her so much!
I try to incorporate them in many of my illustrations and Halloween is a fitting theme to add a few!
Halloween Pattern Paper…
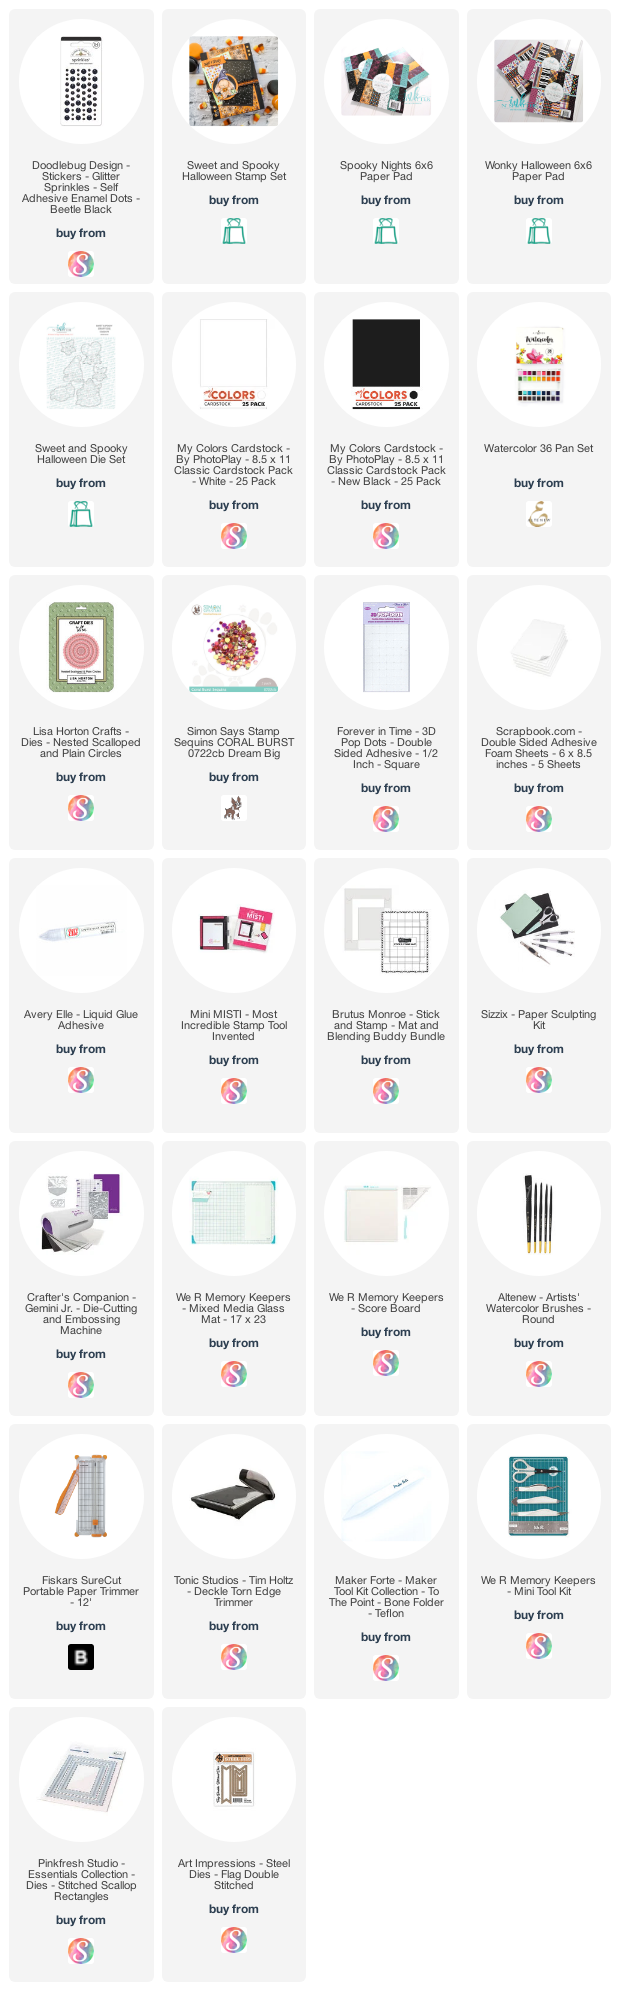
I also cut out a few different Halloween inspired pieces of Spooky Nights Pattern Paper and Wonky Halloween Pattern Paper for this Halloween card.
Happy Meow-lloween…
I the stamped “Happy Meow-lloween” from the Sweet & Spooky Stamp Set and cut it out with a ragged edge cutter.
I love to use cute little puns with cute images...it brings many smiles!
Sparkle…
I finished off my card with a few little coordinating sequins to add some Sparkle and interest!
I hope I have inspired you to simply create something Fabulously Fun & Heart-Warming to bring you, or someone else, a little bit of joy for the moment.
I Ink blended Ink n’ Splatter‘s Cloudy Day Stencil for the inside background as well as the front for my sentiment, Have a “Boo-tiful Night” on a stitched cut out.
I stamped my images, and sentiment with embossing ink and the sprinkled them with heat embossing powder to give them a clean crisp look. Once my images were set, I colored them with Copic Markers (full supply list below)
I really enjoyed coloring these little Halloween cuties..so many possibilities! You can even pair them up with Ink n’ Splatters’ other Halloween Stamp Sets.
I will be sharing a few more Halloween cards soon, but…in the meantime….
I can’t wait to see what YOU create!
I hope I have inspired you to simply create something Fabulously Fun & Heart-Warming to bring you, or someone else, a little bit of joy for the moment.
I also stamped my images, and sentiments, then heat embossed them to give them a clean crisp look, then colored them with Copic Markers
A couple of super cute die cuts, a piece of beautiful fall pattern paper (full supply list below) and we have the makings of a fabulously fun Autumn shadow box card.
I hope I have inspired you to simply create something Fabulously Fun & Heart-Warming to bring you, or someone else, a little bit of joy for the moment.
Please be sure to join us in sharing your INS Stamp creations, on all your social media platforms
Don’t forget to hashtag #inknsplatter so we can see your amazing designs
Shop Ink n’ Splatter today for cute and whimsical clear stamps, dies, and more!
I decided to use a piece of pattern paper from Ink n’ Splatter “Wonky Halloween” Paper Pad to make my image and background stand out.
I die cut a circle out of the middle of the pattern paper so I could place my ink blended paper under and give an illusion of a large Halloween Moon.
Putting it all together…
For my card base, I cut a piece of textured black cardstock and folded it to create an A2 card. I then cut a smaller piece of Kraft cardstock leaving a slight border on all sides, and attached it to my card base.
I attached the pattern paper with the ink blended piece over the Kraft Cardstock and again leaving a slight border on all sides.
I attached “Enchanting Charlotte” with adhesive foam to the lower center to leave room for the blended moon.
Embellishments…
At this point my card looked good but it needed something…and of course I couldn’t resist a few more embellishments.
So I die cut a super cute web from white cardstock and cut it to fit in the upper left corner of my card, a few fabulously adorable die cut bats, dotted the opposite corner of my card with white enamel dots, and tied coordinating Halloween bakers twine across the bottom of my card base, and under my colored “Enchanting Charlotte” image.
I’ve enjoyed playing around with Halloween images, colors and designs. Unfortunately, the crazy colors of Halloween, come but once a year!
Challenge Yourself…
During the course of the year, jump out of your comfort zone and create something uniquely different to you! Different colors, designs, techniques.
Who knows…you just may surprise yourself!
I hope I have inspired you today to try something new, or simply create something Fabulously Heart-Warming, or perfectly Fun-Loving, to bring you, or someone else, a little bit of joy for the moment.
We would love for you to join us in sharing your DDS and INS inspiration projects, on all your social media platforms, using Ink n’ Splatter products.
Don’t forget to hashtag so we can see your amazing designs:
#inknsplatter
#digidoodlestudios
Shop Ink n’ Splatter today for cute and whimsical clear stamps, dies, and more!
Can you smell it? The uniquely comforting scent of fresh brewed coffee!
I love the smell, the taste, and even the color of coffee! It’s always time for coffee, as far as I’m concerned! That’s a photo of my coffee, up there, from one of our local Coffee Houses. My coffee was fabulous, just in case you were wondering.
Or maybe you really don’t like coffee, but prefer Hot Cocoa, Tea, or even Hot Apple Cider instead. They’re all fabulous too!
Whatever your guilty pleasure is, as a Super Sponsor of this week’s seasonal event, I invite you to grab your favorite mug of deliciousness, and hop along with us as we celebrate the Fall/Winter Coffee Lovers Blog Hop! There will be lots of prizes, and oodles of inspiration too!
Any day I can feed my paper crafting/card making, and coffee loving addiction, is a great day for me! So I am excited to share my contribution to this super fun seasonal blog hop today, and as a Sponsor of this event, I have donated one of the many prizes that will be given to the lucky winners!
Want to See How I Created this Card?
Antoni Coffee Gnomie…
Gnomes have been all the rage for a few years, right?! They can be kind of adorable, especially in the paper crafting world.
The first thing I always try to do is have some sort of project plan in my head. I don’t always, but for this card design, I knew early on I wanted to create a shaker card, so I sized Antoni accordingly. Once I was happy with it, I printed and cut my image using my die cutting machine.
Once all the tedious, and mathematical, preparations were done, I cut the base out of white cardstock. I also cut several coffee cup outlines and glued them together to create the well that would hold my shaker bits.
Now, I was ready to color, which btw, is one of my favorite steps of the process. I will tell you my other favorite step in a moment.
PleaseNote: there are no hard and fast rules to the order of these steps, I just prefer to print and cut before I color, because it is not unlike me to change my plan, or worse, mess up!
I colored Antoniwith Copic Sketch Markers (full supply list below) because I love the paint brush-like tip, the blend-ability, and enormous color choices, of these fabulous alcohol markers. Not to mention they are refillable which in itself makes them an great investment.
Tip: If you plan on coloring with markers, you may want to use paper designed for that medium. It really does make a difference when it comes to blending and bleeding. For more info on paper, visit my article on Artist Paper in my Cool Crafty Tools Section
My Thought Process…
I originally thought of having Antoni and the Coffee Shaker Cup stand alone, which was really cute, but not very sturdy, even though I added extra layers.
While I was coloring Antoni, I felt like he really popped up against the b&w Buffalo Flannels, as pictured above, so I went with that instead.
Picking Up the Pieces…
After my image was colored I began to assemble my Shaker Coffee Cup. I attached the top frame layer of the coffee cup, onto a piece of clear acetate, and fussy cut the acetate around the frame to create the window of my shaker.
Using coordinating colors, I filled the shaker well with all kinds of sequins, frosty bits, and enamel dots, and sealed it up using the top window layer layer. I also cut out another cup holder using corrugated cardstock to give my shaker cup more dimension.
I also added a couple of little coffee related die cuts and a coordinating enamel dot to the sentiment just for fun.
Putting it All Together…
Putting it all together is my other favorite part of the card making process. I love to watch as it all comes together, especially when it looks like something I pictured it in my mind.
I added a little satin ribbon, a die cut flourish for the coffee steam, a few more coordinating enamel dots, and my card was finished.
Well that was fun! I’m kind of sad it’s over…
I had so much fun creating this card! Maybe it is because I am a Coffee Loving Cardmaker, or maybe it’s because I have a creative addiction.
How about you? Are you a Coffee Loving Cardmaker, a creative addict, or are you just starting out on a fabulous journey?
I hope I have inspired you today to try something new, or simply create something Fabulously Heart-Warming to bring you, or someone else, a little bit of joy for the moment.
Be sure to join Digi Doodles Facebook Community for more inspiration, challenges and a chance to win monthly FREE Digi Doodles and to share your DDS creations!
#digidoodlestudios #digidoodles
Please Subscribe to Digi Doodle Studios YouTube Channel for added inspiration
Every day is a gift…so do something today that brings you, and others, great joy!
I would like to enter this card in the following challenges: